Beispielprogramme - Timer-Funktionen
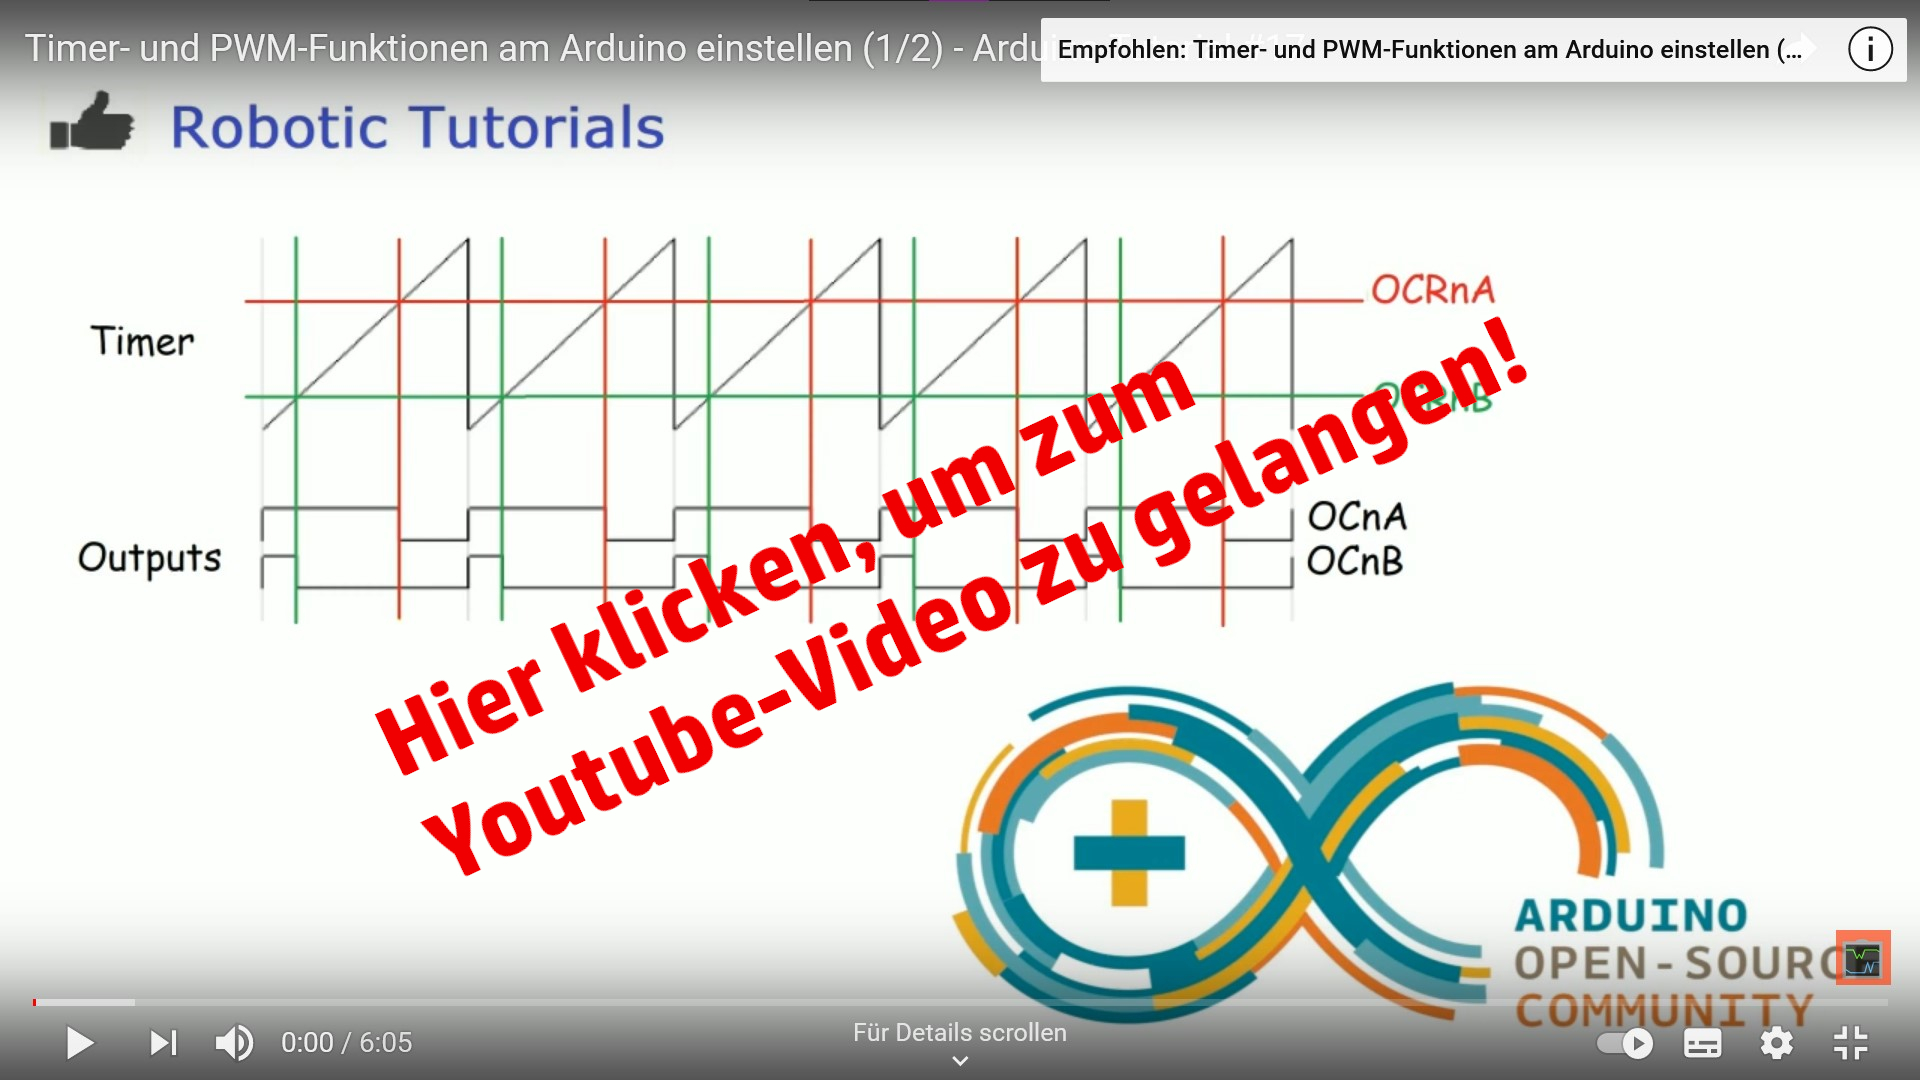
Hier sind die Beispielprogramme, die in den Youtube-Tutorials #17 und #18 zu den Timer-Funktionen verwendet wurden.
Du kannst entweder alle Programme auf einmal herunterladen, oder den Code anschauen und für dich passende Stellen rauskopieren.
Arduino-Programme herunterladen
1. Die Header-Datei “pwm.h”
class pwm{
  private:
    float Freq;
    int Pin, selectParameters, dutyCycle;
    String Mode;
  public:
    void setModeOut(int);
    void setParameters(int);
    void setFreq(float);
    void setDC(int);
    int getParameters();
    float getFreq();
    int getDC();
};

void pwm::setModeOut(int _Pin){
  Pin = _Pin;
  pinMode(_Pin, OUTPUT);
}

void pwm::setParameters(int _Parameter){
  selectParameters = _Parameter;
}
void pwm::setFreq(float _Freq){
  Freq = (float)_Freq;
}
void pwm::setDC(int _dutyCycle){
  dutyCycle = _dutyCycle;
}

//
int pwm::getParameters(){
  return selectParameters;
}
float pwm::getFreq(){
  return Freq;
}
int pwm::getDC(){
  return dutyCycle;
}
Video Teil 1/2:
2. Der Fast-PWM-Modus “1_Fast_PWM.ino”
/* By Robotic Tutorials
 *
 * Fast PWM Mode
 *
 * REGISTER : TCCR2A
 * (1<<COM2A1) : Clear OC2A on compare match, set OC2A at BOTTOM,(non-inverting mode).
 * (1<<COM2B1) : Clear OC2B on compare match, set OC2B at BOTTOM,(non-inverting mode).
 *                            TOP      Update of    TOV Flag
                                        OCRx at     Set on
 * (1<<WGM21)  : Fast PWM     0xFF      BOTTOM         MAX
 * (1<<WGM20)  : Fast PWM     0xFF      BOTTOM         MAX
 *
 * Freq_Out = f_Clock/N*256   -> N: variable represents the prescale factor (1, 8, 32, 64, 128, 256, or 1024)
 *                            -> f_Clock: For Arduino Uno 16MHz
 *
 * Duty_Cycle = (MAX+1)/256   -> MAX : The extreme values for the OCR2A/OCR2B register
 *
 * REGISTER: TCCR2B
 * (1<<CS22) : clk T2S /64 (from prescaler)
 *
 */

void setup() {

  pinMode(3, OUTPUT);
  pinMode(11, OUTPUT);

  //TCCR2A = _BV(COM2A1) | _BV(COM2B1) | _BV(WGM21) | _BV(WGM20);
  TCCR2A = (1<<COM2A1)| (1<<COM2B1) | (1<<WGM21) | (1<<WGM20);

  /* Example 1: Freq_Out = 977Hz (Prescaler = 64 )
                DC = 10%, DC = 85%   */
  //TCCR2B = _BV(CS22);
  TCCR2B = (1<<CS22);
  OCR2A = 25;
  OCR2B = 216;

  /* Example 2: Freq_Out =  7.8KHz (Prescaler = 8 )
                DC = 50%, DC = 5% */
  /*TCCR2B = (1<<CS21);
  OCR2A = 126;
  OCR2B = 11;*/
}

void loop() {
  // put your main code here, to run repeatedly:

}
Video Teil 2/2:
3. Der Phase-Correct-PWM-Modus “2_Phase_Correct_PWM.ino”
/* By Robotic Tutorials
 *
 * Phase-Correct PWM
 *
 * REGISTER : TCCR2A
 * (1<<COM2A1) : Clear OC2A on compare match, set OC2A at BOTTOM,(non-inverting mode).
 * (1<<COM2B1) : Clear OC2B on compare match, set OC2B at BOTTOM,(non-inverting mode).
 *                            TOP      Update of    TOV Flag
                                        OCRx at     Set on
 * (1<<WGM20)  : Fast PWM     0xFF      BOTTOM         MAX
 *
 * Freq_Out = (f_Clock/N*256)/2   -> N: variable represents the prescale factor (1, 8, 32, 64, 128, 256, or 1024)
 *                            -> f_Clock: For Arduino Uno 16MHz
 *
 * Duty_Cycle = MAX/256   -> MAX : The extreme values for the OCR2A/OCR2B register
 *
 * REGISTER: TCCR2B
 * (1<<CS22) : clk T2S /64 (from prescaler)
 *
 */

void setup() {

  pinMode(3, OUTPUT);
  pinMode(11, OUTPUT);

  TCCR2A = _BV(COM2A1) | _BV(COM2B1) | _BV(WGM20);

  /* Example 1: Freq_Out = 488Hz (Prescaler = 64 )
                DC = 40%, DC = 85%   */
  //TCCR2B = _BV(CS22);
  TCCR2B = (1<<CS22);
  OCR2A = 102;
  OCR2B = 216;

  /* Example 2: Freq_Out =  3.9KHz (Prescaler = 8 )
                DC = 50%, DC = 25% */
  /*TCCR2B = (1<<CS22);
  OCR2A = 126;
  OCR2B = 64;*/
}

void loop() {
  // put your main code here, to run repeatedly:

}
04. Das Testprogramm “4_PWM.ino”
/*
 *  By : Rootic Tutorials
 *  Date : 05-11-2020
 *
 *  The timer can either run from 0 to 255, or from 0 to a fixed value.
 *  (The 16-bit Timer 1 has additional modes to supports timer values up to 16 bits.)
 *  In the following "x" is "0", "1" or "2" for timer 0, 1 or 2.
 *
 * Freq_Out = (f_Clock/N*256)/2   -> N: variable represents the prescale factor (1, 8, 32, 64, 128, 256, or 1024)
 *                                -> f_Clock: For Arduino Uno 16MHz
 *
 * Duty_Cycle = MAX/256   -> MAX : The extreme values for the OCR2A/OCR2B register
 *
 *  Setting the timer prescaller:
 *  ---------------------------------------------------
 *  Setting                          Prescale_factor
 *  ---------------------------------------------------
 *  TCCRxB = _BV(CS01);               // 1
 *  TCCRxB = _BV(CS11);               // 8
 *  TCCRxB = _BV(CS10) | _BV(CS11);   // 64
 *  TCCRxB = _BV(CS12);               // 256
 *  TCCRxB = _BV(CS10) | _BV(CS12);   // 1024
 * ----------------------------------------------------
 *
 *
 * For the Arduino UNO   ->
 * ------------------------------------
 * Timer      Output-Arduino  Output
 * ------------------------------------
 * OC0A           6            PD6
 * OC0B           5            PD5
 * OC1A           9            PB1
 * OC1B           10           PB2
 * OC2A           11           PB3
 * OC2B           3            PD3
 * ------------------------------------
 *
 *
 */

/* Header  Datei */
#include "pwm.h"

#define FCLOCK    16000000  // Clock Frequency
#define FCLOCKPLL 15625     // FCLOCK/1024

// PWM Pins
#define SIGNAL_PWM_ONE  9
#define SIGNAL_PWM_TWO  10

/* Variable to read incoming serial data */
int STATE = 0;
int16_t DC, DCValue;
int32_t FreqValue;

/* Defining an object of the PWM class */
pwm pwm1, pwm2;

/* Definition of functions */
void menuCfgActive();
void setFreqValue();
void setDCValue();
int32_t getFreqValue(int32_t _Freq);

void setup() {

  /* Opens serial port, sets data rate to 9600 bps */
  Serial.begin(9600);
  Serial.setTimeout(10);

  /* manual setup for 16 bit timer 1 with flexible PWM frequency */
  // OCR1A/B/C inverting mode, timer mode 10, phase correct PWM, TOP set by ICR1
  //TCCR1A = (1<<COM1A1) | (1<<COM1A0) | (1<<COM1B1) | (1<<COM1B0) | (1<<WGM11);

  /* OCR1AB/B No inverting Mode, timer mode 16, phase correct PWM, TOP set by ICR1 */
  TCCR1A = (1<<COM1A1) | (1<<COM1B1)| (1<<WGM11);

  /* Display the initial menu on the serial monitor */
  menuInit();
}

void loop() {
  menuCfgSignal();
}


/* Functions */

/*
 *@Description : Display the initial menu on the serial monitor
 */
void menuInit(){

  Serial.println("----------------------------------------");
  Serial.println("Hello to Robotic Tutorials");
  Serial.println();
}

/*
 *@Description : Configure the parameters of the PWM signal to be generated.
 *               In this case the Frequency and Duty Cycle
 *
 *@parameter[in]:    None
 */
void menuCfgSignal(){

    Serial.println("----------------------------------------");
    Serial.println("Configure the parameters of the signals:");
    Serial.println();

    Serial.print("Frequency Value in Hz:");
    while(Serial.available() == 0) {}

    float FreqValue = Serial.parseFloat();
    pwm1.setFreq(FreqValue);
    Serial.print(pwm1.getFreq(),4);
    Serial.print("\n");

    // Duty Cycle Value in Register
    Serial.read();
    Serial.print("Duty Cycle of Signal 1");
    Serial.print(" (in %) : ");
    while(Serial.available() == 0) {}
    DC = Serial.parseInt();

    /* Checks if the value entered is valid */
    if(DC > 0u && DC< 100)
    {
      pwm1.setDC(DC);
      Serial.println(pwm1.getDC());
      Serial.read();
    }
    else{
        pwm1.setDC(0u);
        Serial.println("Duty Cycle Error !");
    }

    Serial.print("Duty Cycle of Signal 2");
    Serial.print(" (in %) : ");
    while(Serial.available() == 0) {}
    DC = Serial.parseInt();

    /* Checks if the value entered is valid */
    if(DC > 0u && DC< 100)
    {
      pwm2.setDC(DC);
      Serial.println(pwm2.getDC());
      Serial.read();
    }
    else{
      pwm2.setDC(0u);
      Serial.println("Duty Cycle Error !");
    }

    menuCfgActive();

    int Option;

    while(Serial.available() == 0) {}
    Option = Serial.parseInt();

    if(Option == 1){
      // Frequeny Value in Register: Set PWM Value for OCR1A/B/C NO inverting mode to set the Duty Cycle
      OCR1A = (getFreqValue(pwm1.getFreq()))*0.01*(pwm2.getDC());
      OCR1B = (getFreqValue(pwm1.getFreq()))*0.01*(pwm1.getDC());

      pinMode(SIGNAL_PWM_ONE, OUTPUT);    // OCR1A
      pinMode(SIGNAL_PWM_TWO, OUTPUT);   // OCR1B
      menuInit();
      Serial.read();
    }
    else if(Option == 2){
      Serial.read();
    }
    else if(Option == 3){
      menuInit();
    }
    else{}
}

/*
 *@Description : Calculate the TOP set by ICR1
 *               To obtain frequency values between 120mHz and 8MHz
 *
 *               Freq_Out = (f_Clock/N*256)/2
 *                         -> N: variable represents the prescale factor (1, 8, 32, 64, 128, 256, or 1024)
 *                         -> f_Clock: For Arduino Uno 16MHz
 *
 *               Duty_Cycle = MAX/256   -> MAX : The extreme values for the OCR2A/OCR2B register
 *
 *@parameter[in] :    The Frequency value to be configurated
 *@parameter[out]:    The TOP set value (by ICR1)
 */
int32_t getFreqValue(float _Freq){

  int16_t PrescalerValue = 0;

  if(_Freq >= 123.0 && _Freq <= FCLOCK)
  {
    TCCR1B = (1<<WGM13) | (1<<CS10);    // prescaler / 1
    PrescalerValue = 1;
  }
  if(_Freq > 0.0 && _Freq < 123.0)
  {
    TCCR1B = (1<<WGM13) | (1<<CS10) | (1<<CS12);    // prescaler / 1024
    PrescalerValue = 1024;
  }
  else
  {
    /* Do Nothing */
  }
  ICR1 = (int32_t)(FCLOCK/PrescalerValue)/(2*_Freq);

  return ICR1;
}

/*
 *@Description : Select what to do
 */
void menuCfgActive(){

    Serial.println("----------------------------------------");
    Serial.println("What would you like to do?:");
    Serial.println("(1) Turn ON Signals");
    Serial.println("(2) Change Signals Configuration");
    Serial.println("(3) Return to Initial Menu");
}

/* End of Programm 4_PWM , by Robotic Tutorials */


